Receipts & Attachments
 How-To Video
Scan receipts and split the bill
Attach a receipt, invoice, or any other file to an entry so the paperwork stays right next to the transaction. Pockity can also read a receipt for you with Apple Intelligence, turning a photo straight into a draft expense.
How do I attach a receipt to an entry?
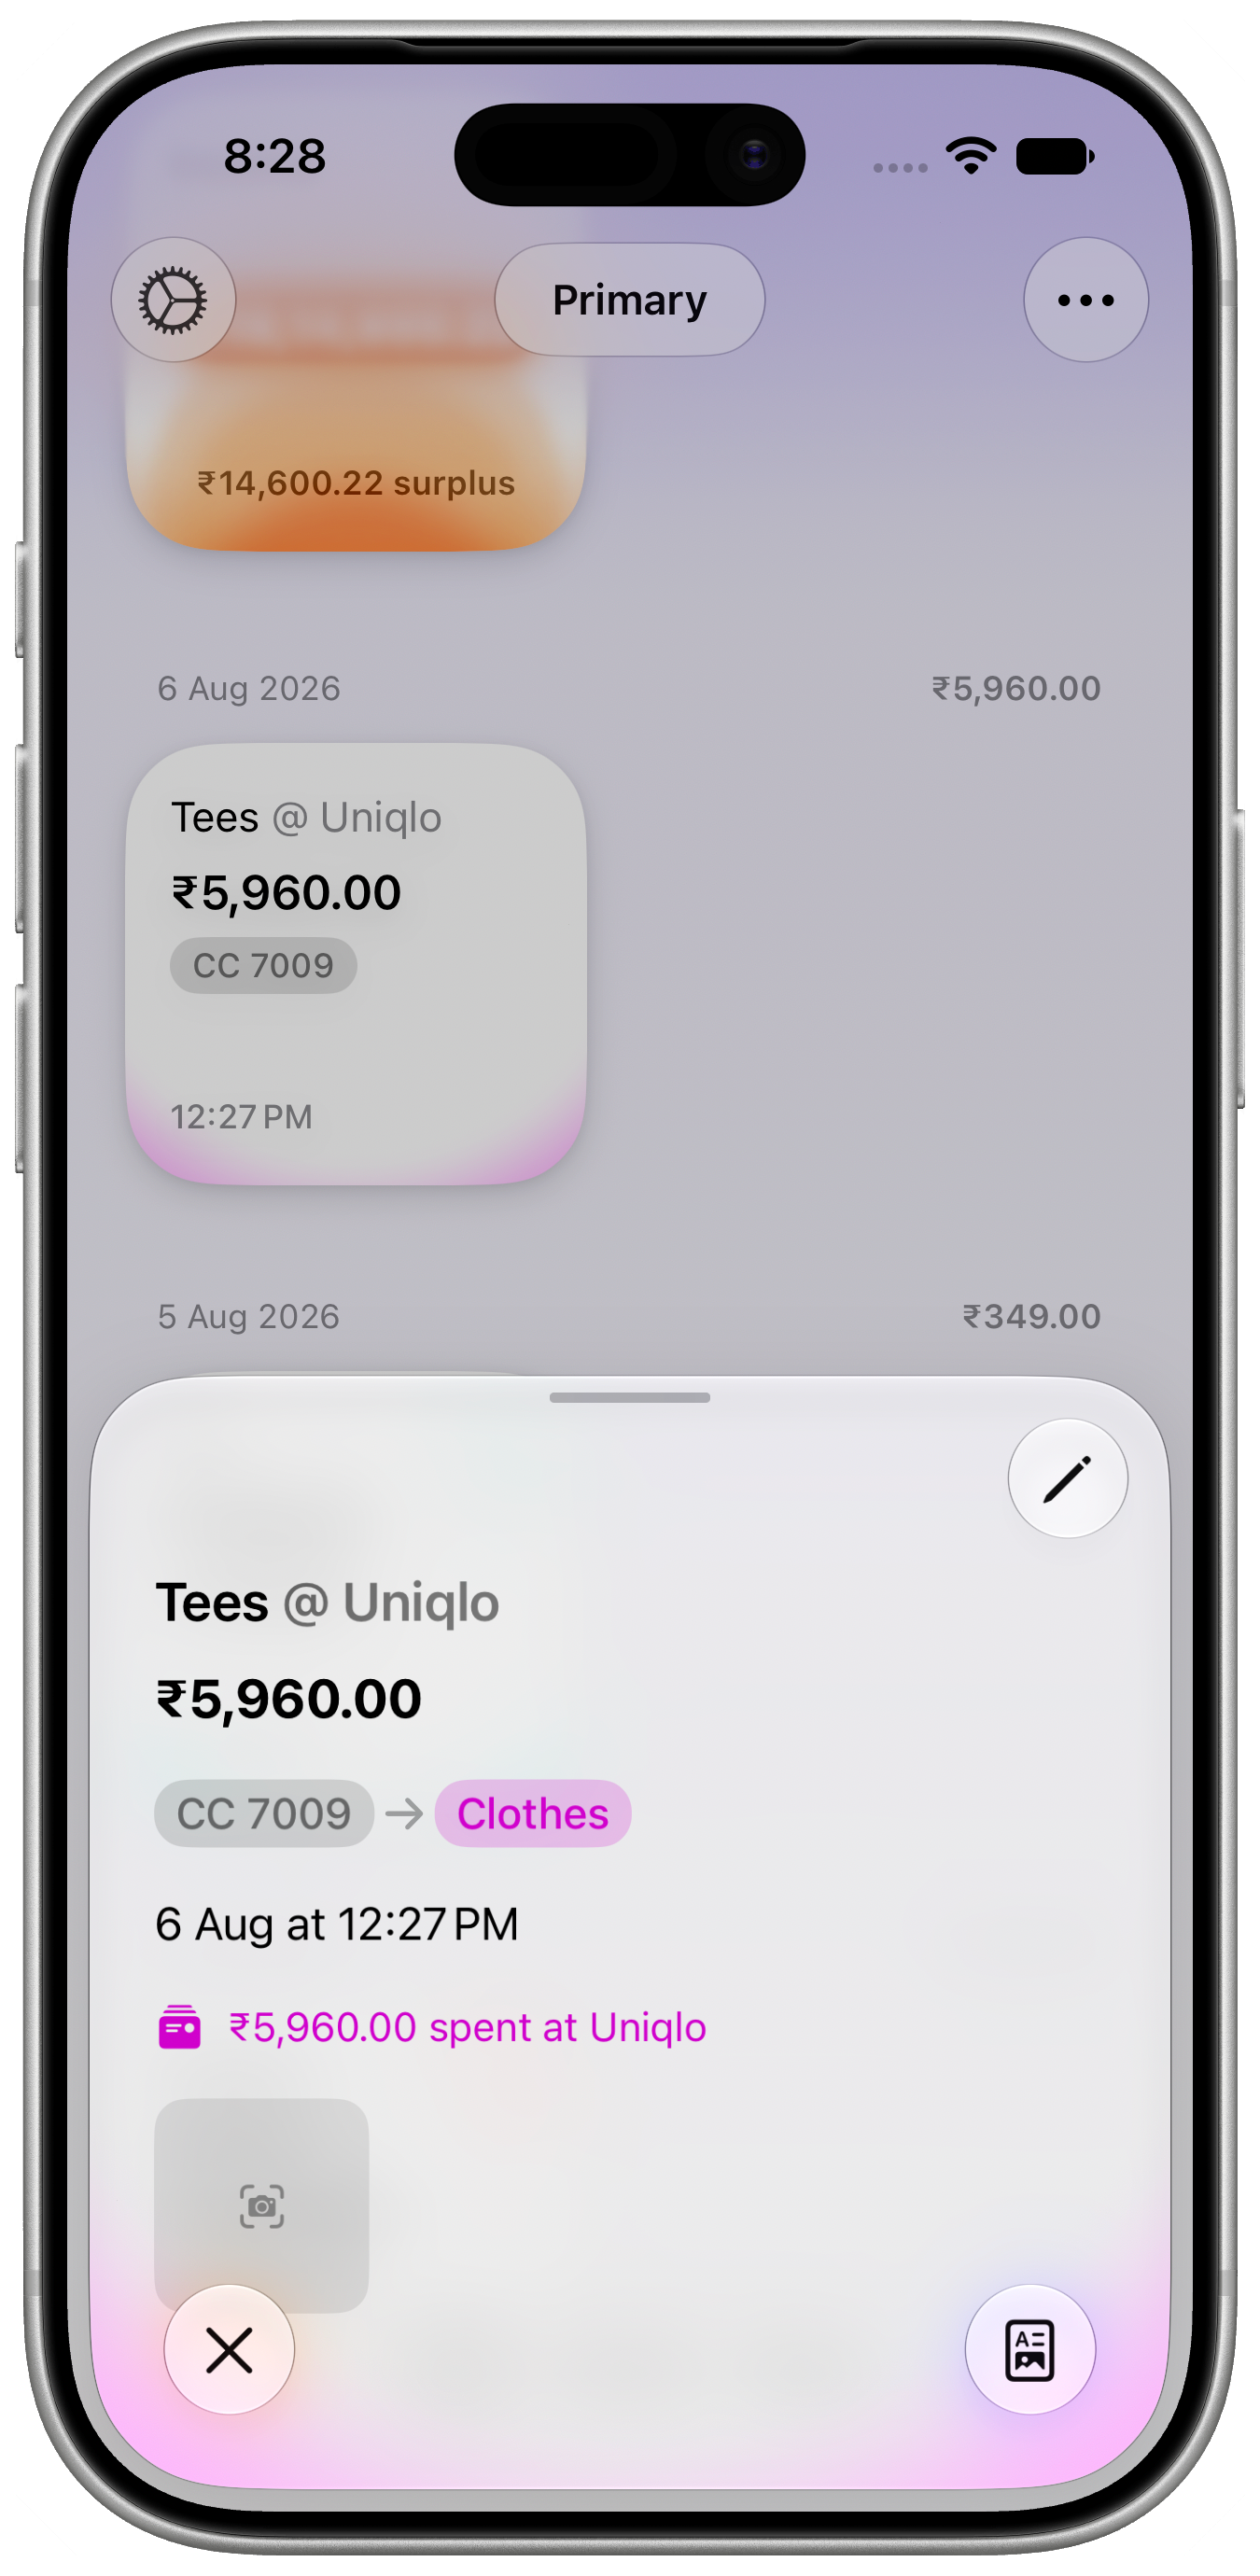
- Open the entry's details sheet.
- Tap the attachment button to scan a new receipt with your camera, or choose an existing photo or PDF from your library.
- Pockity saves the attachment against the entry — tap it any time to preview.
How does receipt scanning work?
- Point your camera at a receipt, or pick a photo or PDF you already have.
- Apple Intelligence reads the merchant, amount, date, and — where available — individual line items, and saves the result as a draft expense for you to review.
- Pockity prefers Private Cloud Compute for this, for the most accurate results, and falls back to the on-device model automatically when Private Cloud Compute isn't available.
- Photos are resized before being sent for reading, which keeps scanning fast and reliable even on a slower connection.
- Scanning also suggests a category for the draft based on the receipt.
Can I split a receipt by item?
Yes. Once a receipt's items are detected, you can claim which ones were yours, and Pockity works out your share automatically, tax and any discount included.
What file types are supported?
- Photos (JPEG, PNG, HEIC).
- PDFs, including multi-page PDFs — every page is preserved, not just the first.
Where can I see an entry's attachments?
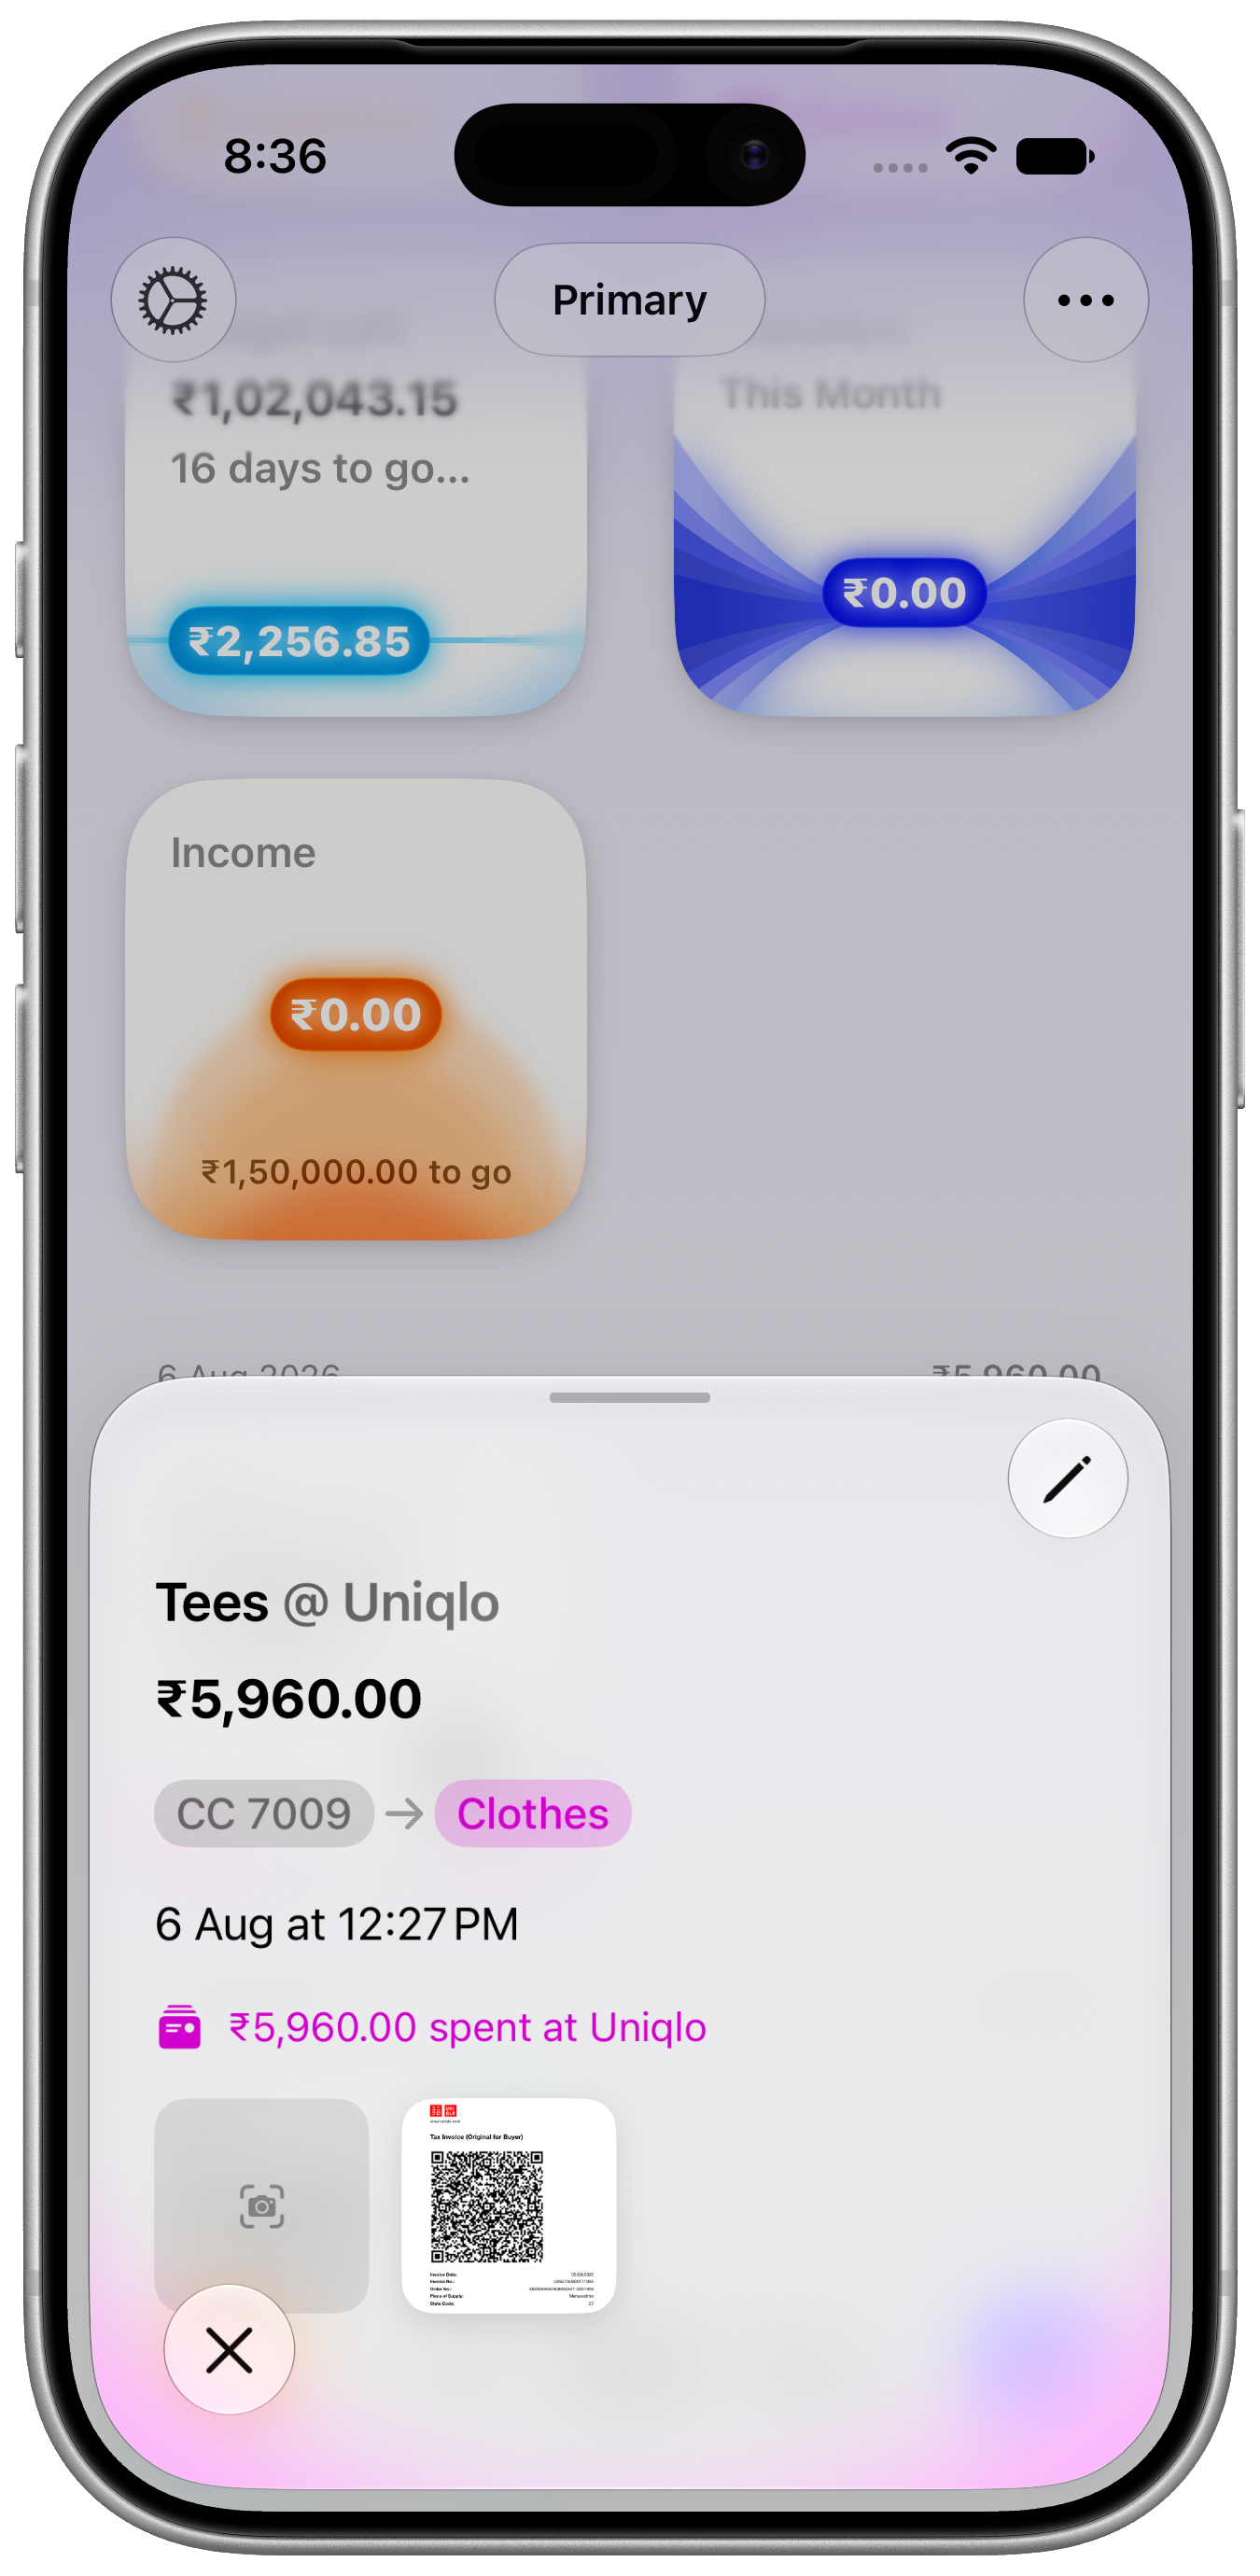
- A receipt or attachment thumbnail appears directly on the entry in the Entries list.
- Open the entry's details sheet for a larger preview of every attachment, and to add more.
Tips
- Scanned receipts are always saved as drafts, never a final entry — review and confirm them from the Drafts view.
- A scanned date can never be set in the future; Pockity corrects for this automatically if a receipt's printed date is ambiguous.

